List of tools used:
Camera: Canon T5i with EF 50mm STM (piano) and EF-S 24mm STM (viola/cello) primes.
Video settings: 1920x1080p, 30 FPS, 1/30s, f/7.1, ISO 800 or 1600.
Microphone: Audio-Technica AT2020USB+.
Audio settings: 44100 Hz, 16-bit, stereo.
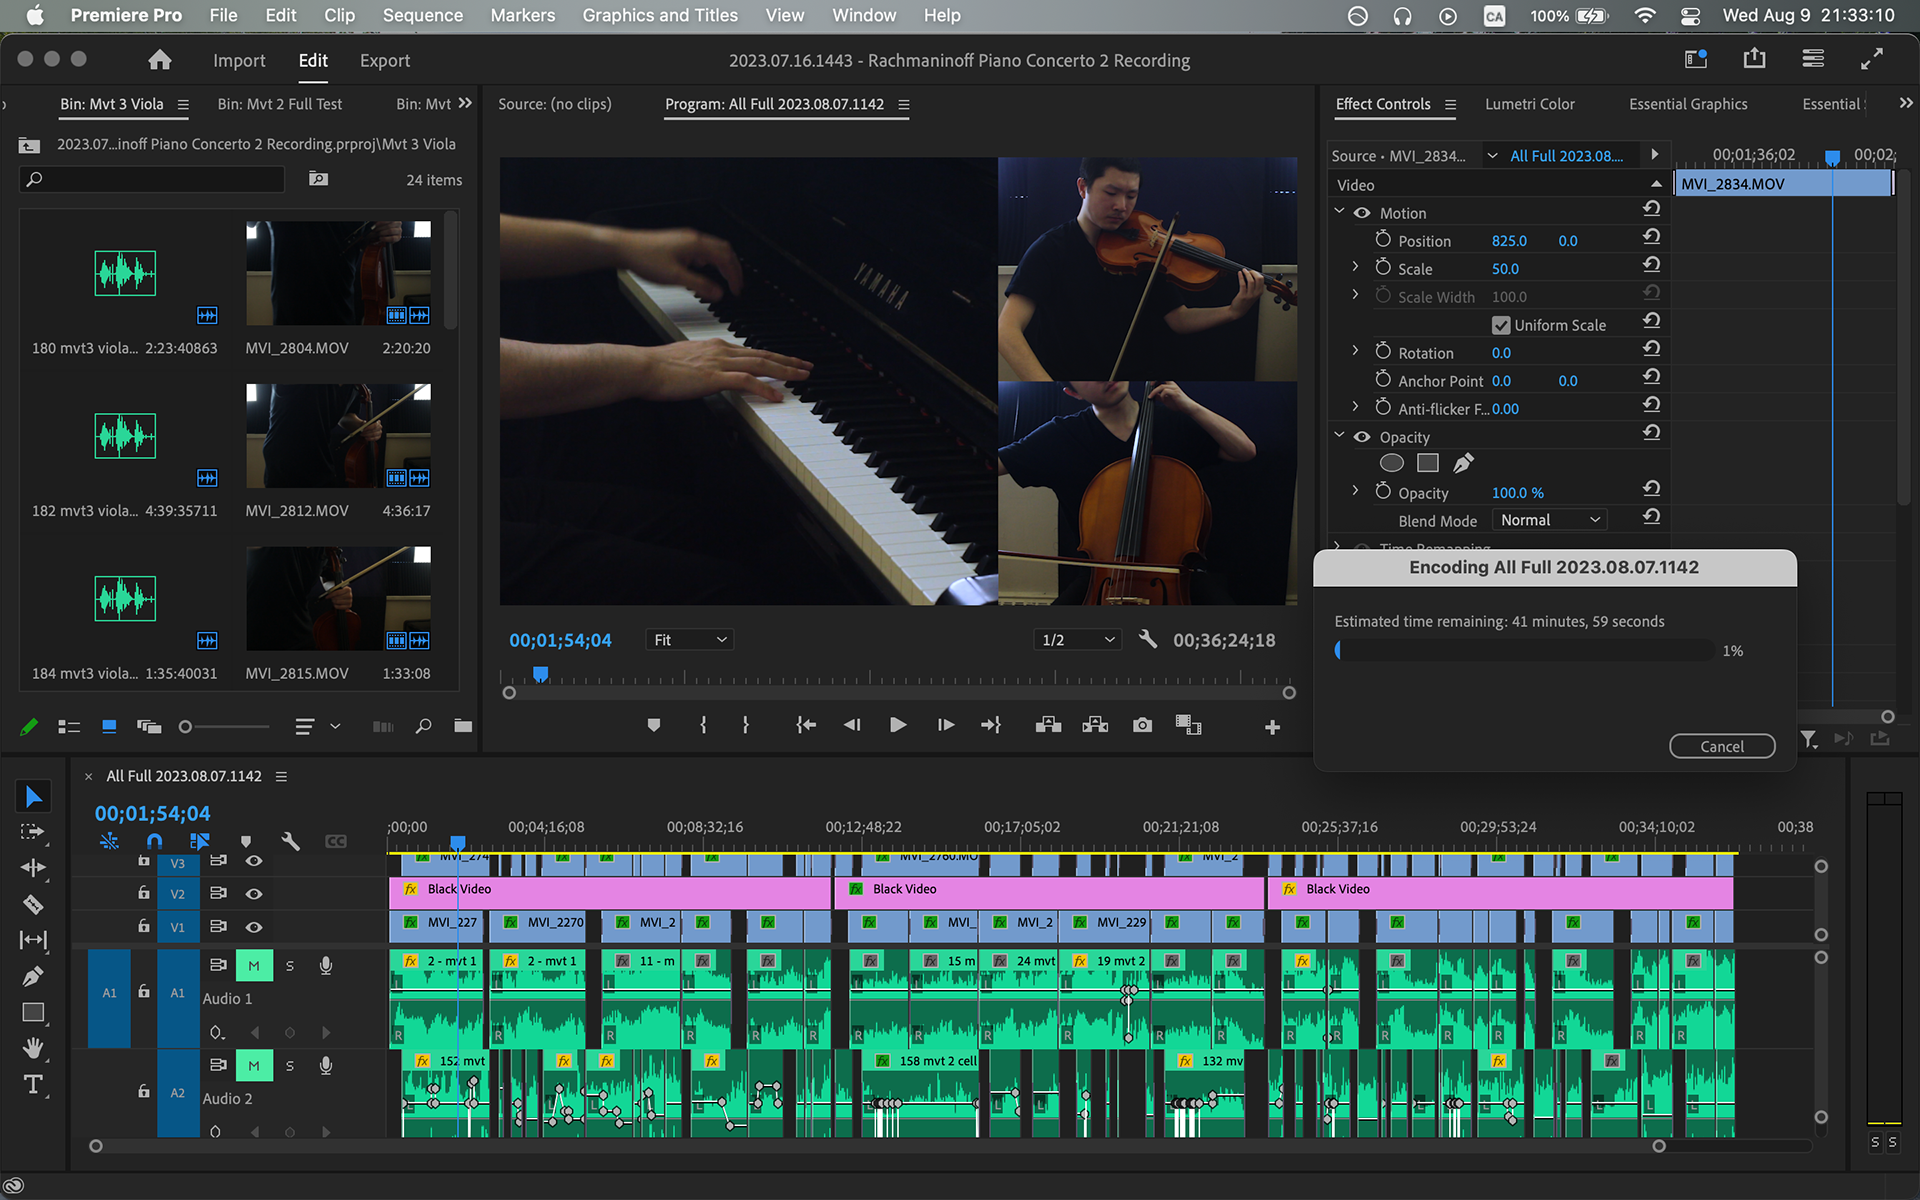
Software: Audacity, Adobe Premiere, Adobe Audition.
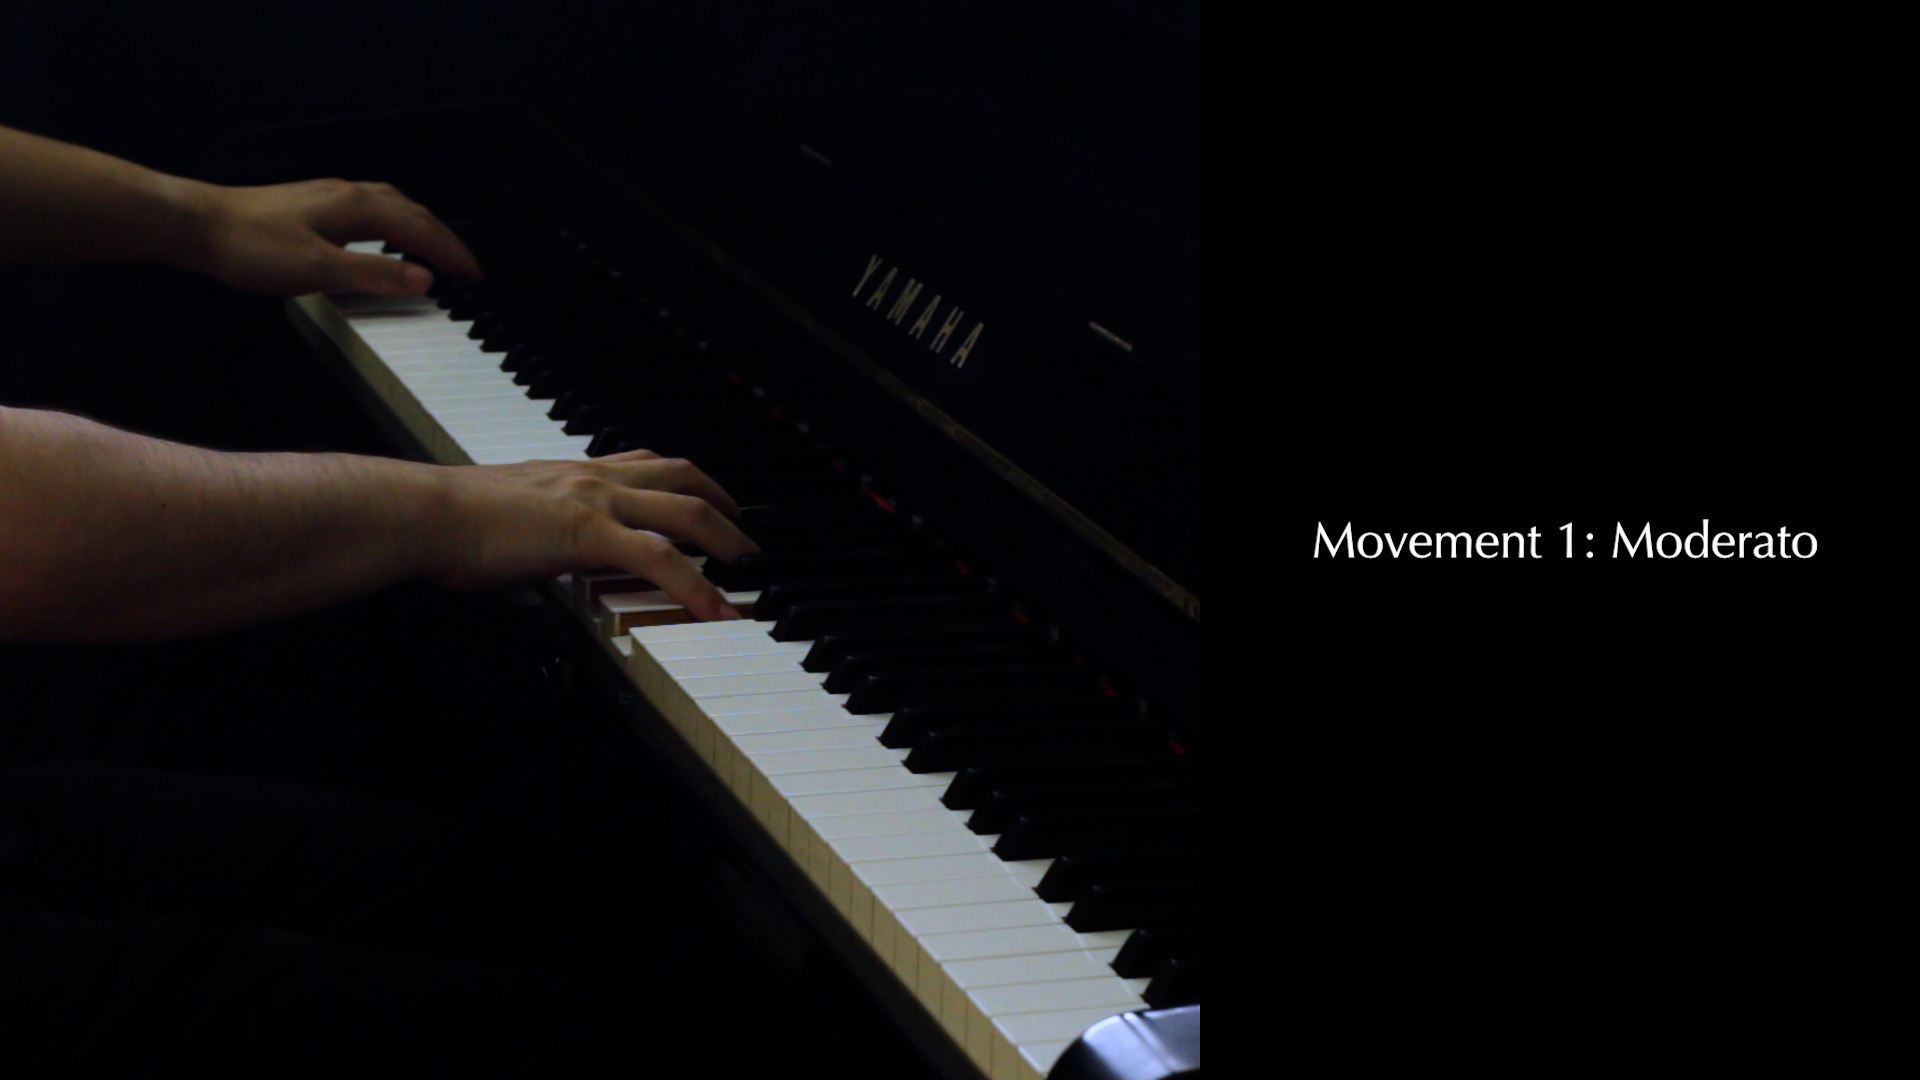
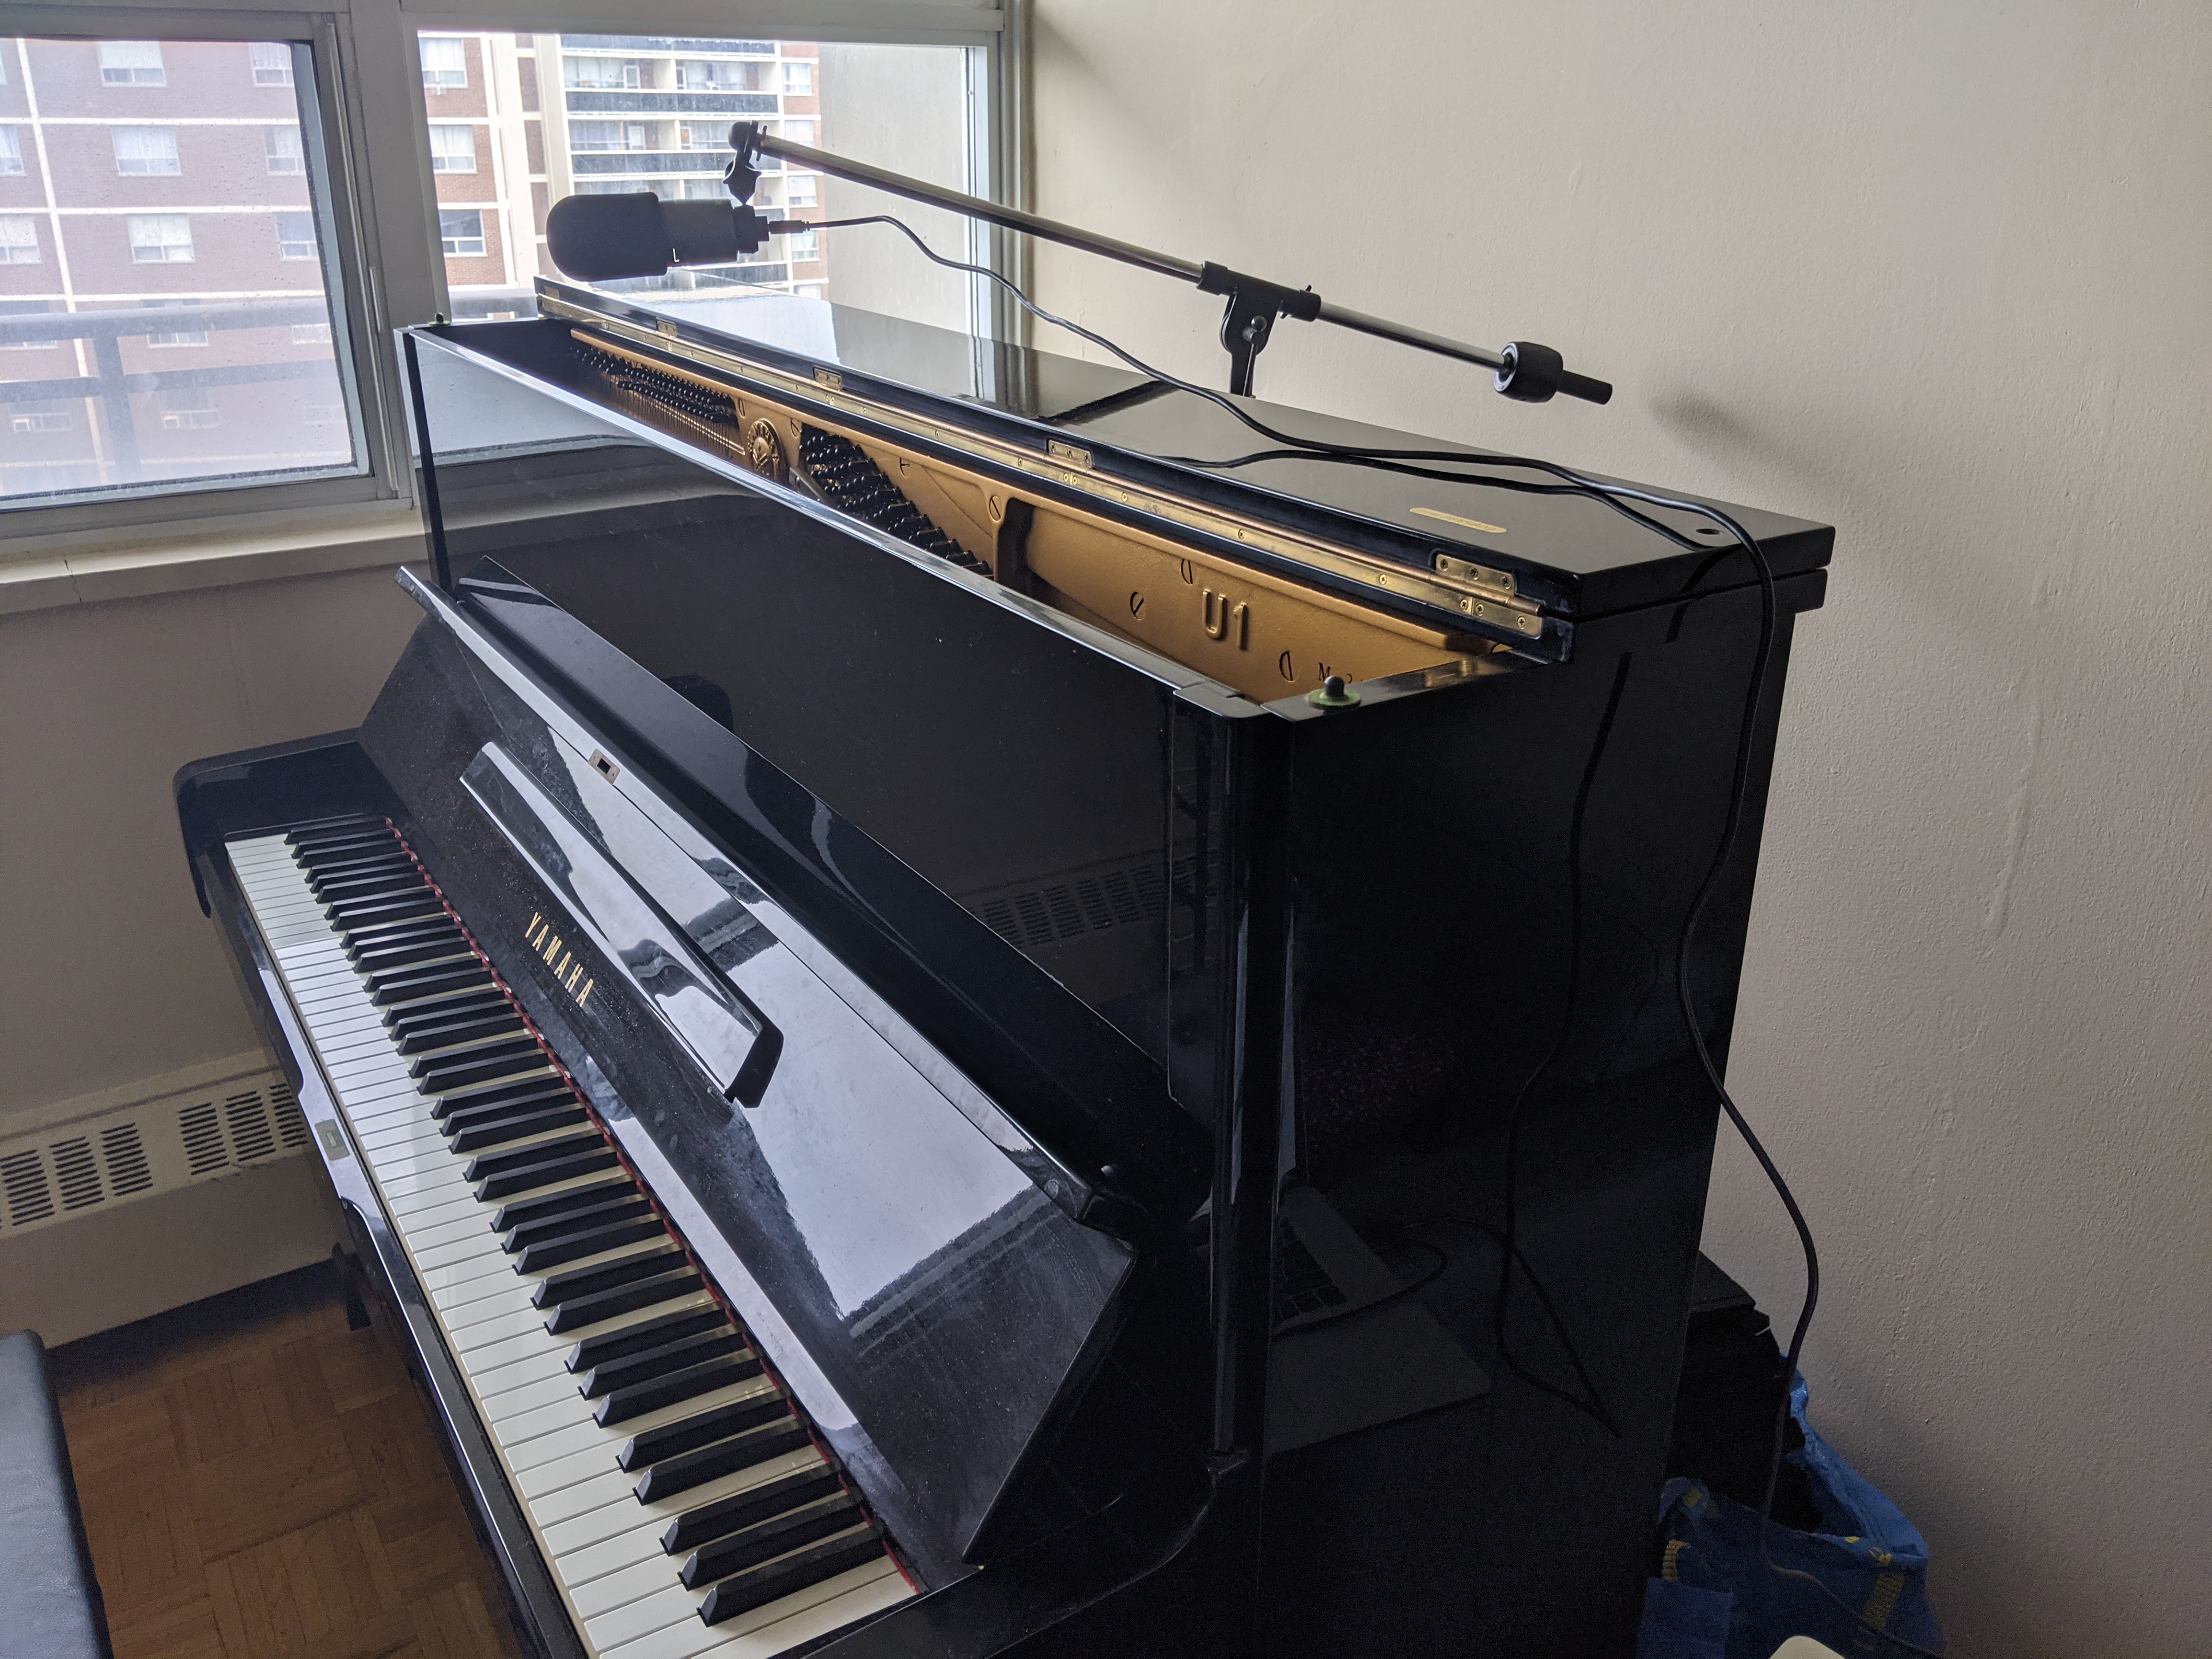
Piano: Yamaha U-1 upright piano.
Viola: Dvorak brand 16" with Helicore A string and Zyex D/G/C strings.
Cello: unknown Chinese brand with Prelude A/D strings and unknown G/C strings.
Process documentation
Part One: Interpreting the solo piano part
General observation: There is a remarkable amount of melodic cohesion in the concerto. The three opening notes of the 1st movement’s main theme (C-D-C) appear throughout the concerto, including the apex of the same movement’s second theme (G-Ab-G) and as an inversion in the 2nd movement’s main theme (G#-F#-G#).
The 1st movement is in sonata form. The introduction (bars 1–8) is played at close to the marked tempo of 60 half-notes per minute, with a gradual crescendo, like a distant trolley approaching. Every interpretation I’ve heard plays this introduction at half the tempo, but I don’t see this in the score. The main theme (bars 9–56) is played with force, like the centre of a thunderstorm. Barely-controlled anger, but a slower tempo brings out a dual character to the theme—that of mourning. The orchestral theme is mired firmly within the piano’s range, as a meandering ray of lucidity in the madness. When the theme returns in the recapitulation (bars 246–262), it has evolved into raw anger, no longer restrained. Sviatoslav Richter’s interpretation is gold: he pushes the tempo and surges slightly ahead of the orchestra, thus evoking a general marshalling their soldiers into battle. Tempo changes in the development (at bars 178, 194, 210, 226, and 238) must be observed so each section accelerates more than the previous. A sudden decrescendo in bar 269 emphasizes the orchestral entry. In the coda (bar 322+), the triple-octaves should emphasize the lowest note; the upper octaves strengthen the harmonics.
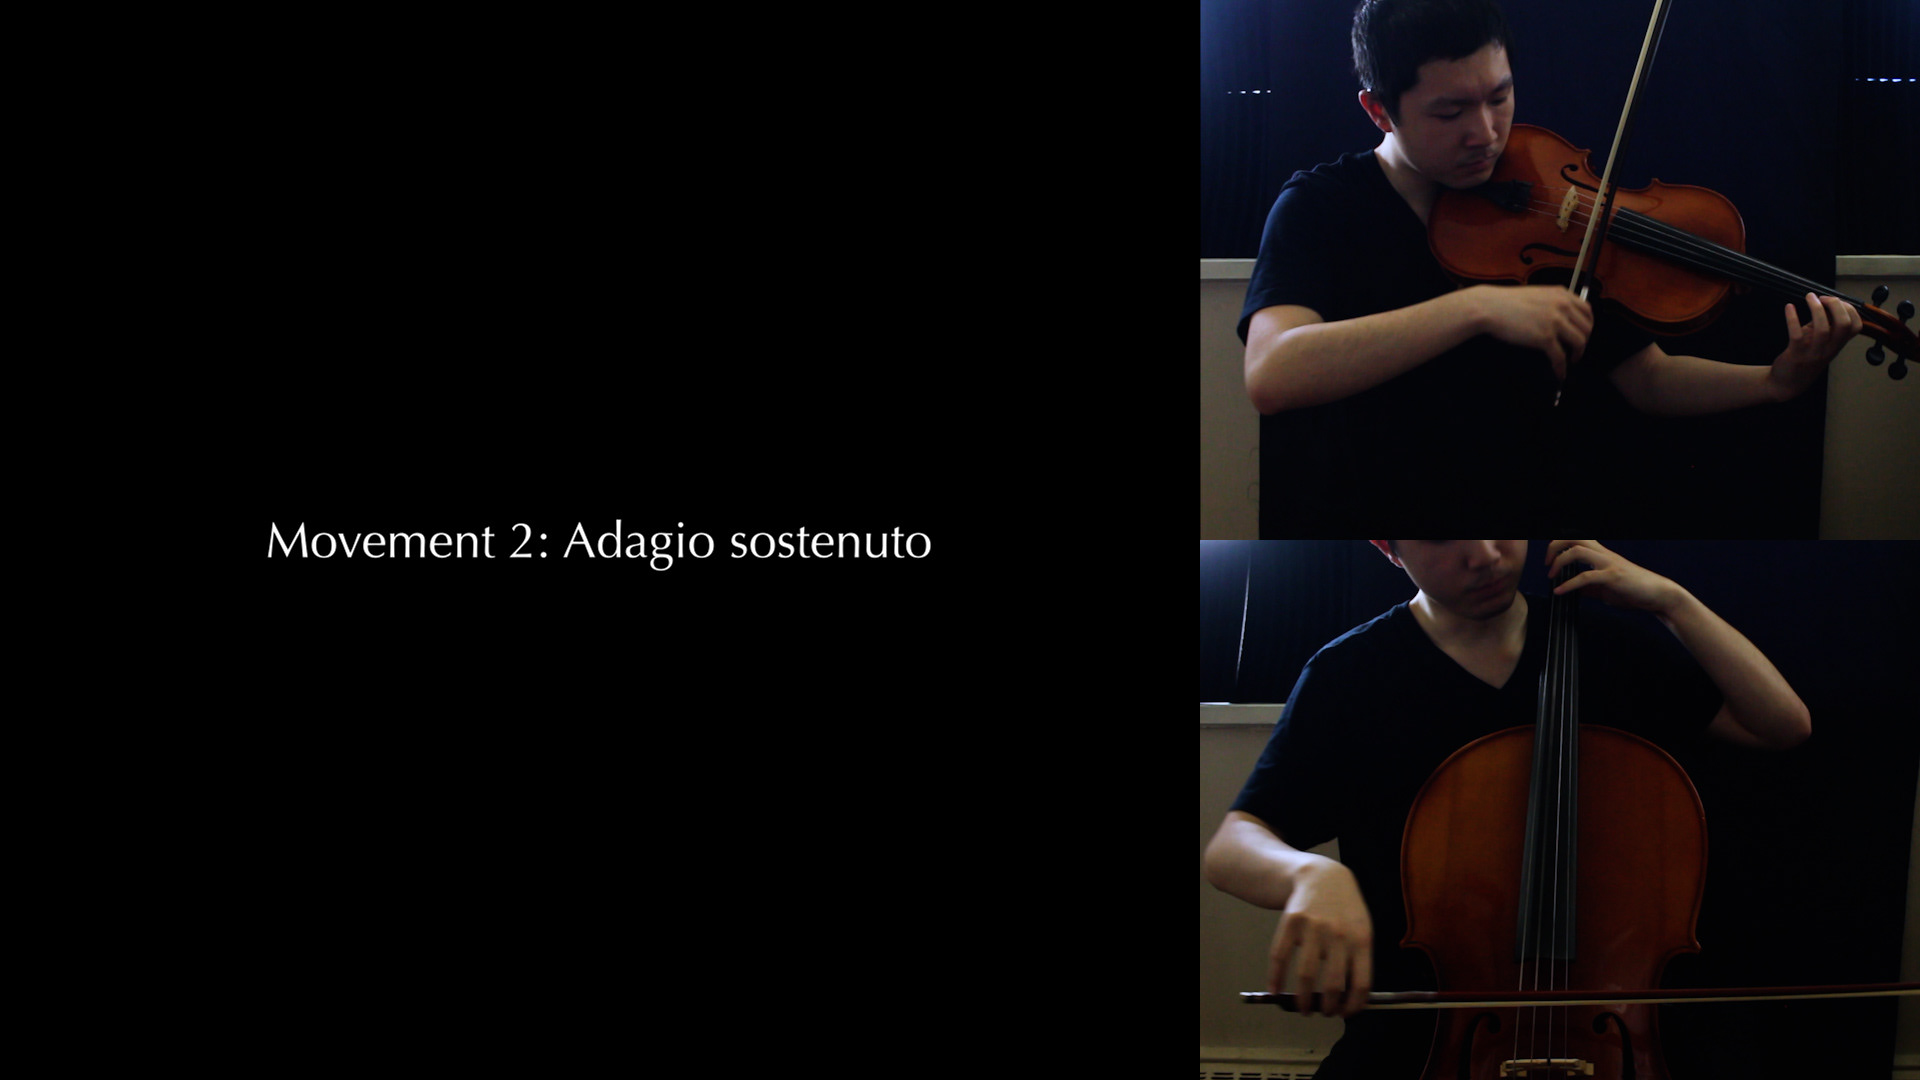
The 2nd movement is in ternary (ABA’) form with a coda. Careful observation of the patterns is essential for accurate memorization: the piano opening vamps (bar 5–8, 139–142) differs slightly on its repeats (bar 9–12, 143–146) to not clash with the melody; the meandering phrases at bar 55–62 and 79–86 follow an ABCC pattern; the left-hand runs at Più Animato (bar 93–96, 97–100) end in descending fifths/fourths, octaves, and ninths but in different orders, and should be carefully fingered. The coda (bar 148+) is the crowning jewel of the entire concerto. At the end of every two-bar phrase, the piano should hesitate on whether to proceed forward. The upper notes of the left hand arpeggios should be emphasized as they reveal another countermelody. When the orchestra drops out towards the end, the piano suddenly finds itself alone, and should reflect on that.
The 3rd movement is again in sonata form. The introduction must arrive at bar 35 at a tempo that’s not too fast, so the piano’s complex figurations are feasible for me to play. The slow theme should build towards the main climax (bar 145, 349), which should sound like striking a gong. To heighten the effect, the tempo should immediately drop precipitously, to resume at the start of the next phrase. Pedal changes in the recapitulation’s slow theme should emphasize the sudden lucidity of the triple-octave C in bar 310 and the off-beat Bb bass note in bar 354—the “afterthought.” The fugue in the development (bar 212 onwards) must be counted carefully, especially at the end of the hemiolas (bar 243–244). The coda should contrast sections with heavy pedal (like the Alla Breve Agitato at bar 394–401 and the Maestoso at bar 431–454) with sharp staccato-like sections (like bar 402–409 and the Risoluto at bar 459–466).
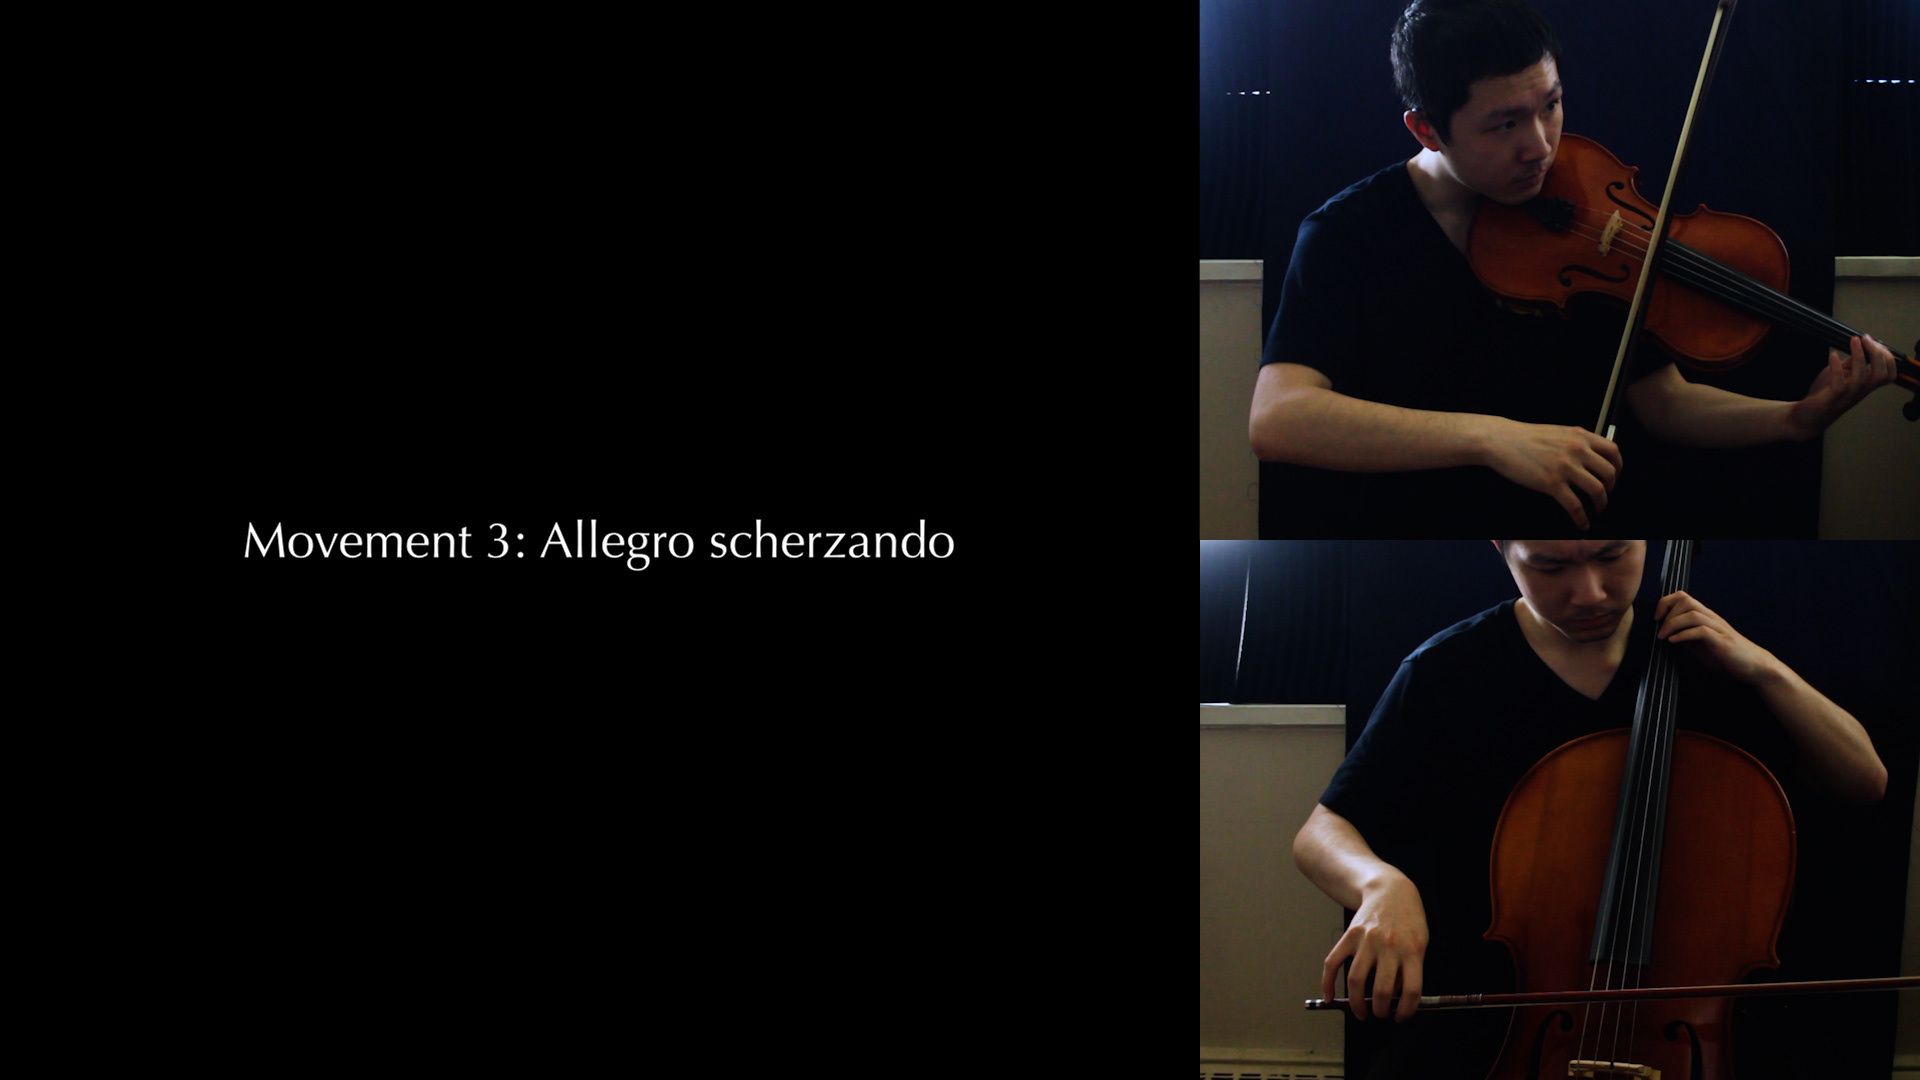
Part Two: Orchestral reduction for viola and cello
The choice of viola and cello instrumentation simply reflects the two instruments I can play decently (other than the piano). I tailored the difficulty of the parts to my comfort level with the instruments, which explains why chords and double-stops are relatively sparse (or rely heavily on open strings), among other characteristics.
The division of parts generally follows the original orchestration if possible, but also reflects the unique strengths of each instrument. The viola is suitable for its grittier tone and lower range than a violin, which is convenient for playing many key melodies in the original register (e.g., the 1st movement’s main theme, with its low F that a violin cannot reach). It is also easier to play faster notes and bigger leaps on (which is why the start of the 1st movement’s development section has the viola play the ornamentation rather than the main melody like in the original orchestration). On the other hand, the cello takes the booming bass notes as well as the more soaring, operatic melodies (e.g., 1st movement bar 134–141, 2nd movement coda, 3rd movement bar 394–401). Viola pizzicato has a popcorn-like effect, while cello pizzicato is much more resonant.
Another consideration for the orchestral reduction is whether the solo piano part already fills in harmonies and bass notes—given the economy of having only three instruments, it is rarely valuable to have two instruments playing similar lines. For example, this is why the 1st movement’s main theme in the exposition has both viola/cello playing the melody (because the piano hits the bass notes), but in the recapitulation, the cello covers the bass notes (because the piano is playing a new countermelody in the upper register). The one major exception to the above: to bookend the concerto, the viola and cello play in octaves only twice: the main theme at the beginning of the 1st movement, and the triumphant climax at the end of the 3rd movement. Parallel octaves create the impression of a stacked tower of penetrating sound, which helps cut through dense piano textures.
There is no change to the solo piano part; the orchestral reduction is designed around it.
Part Three: Experimenting with recording
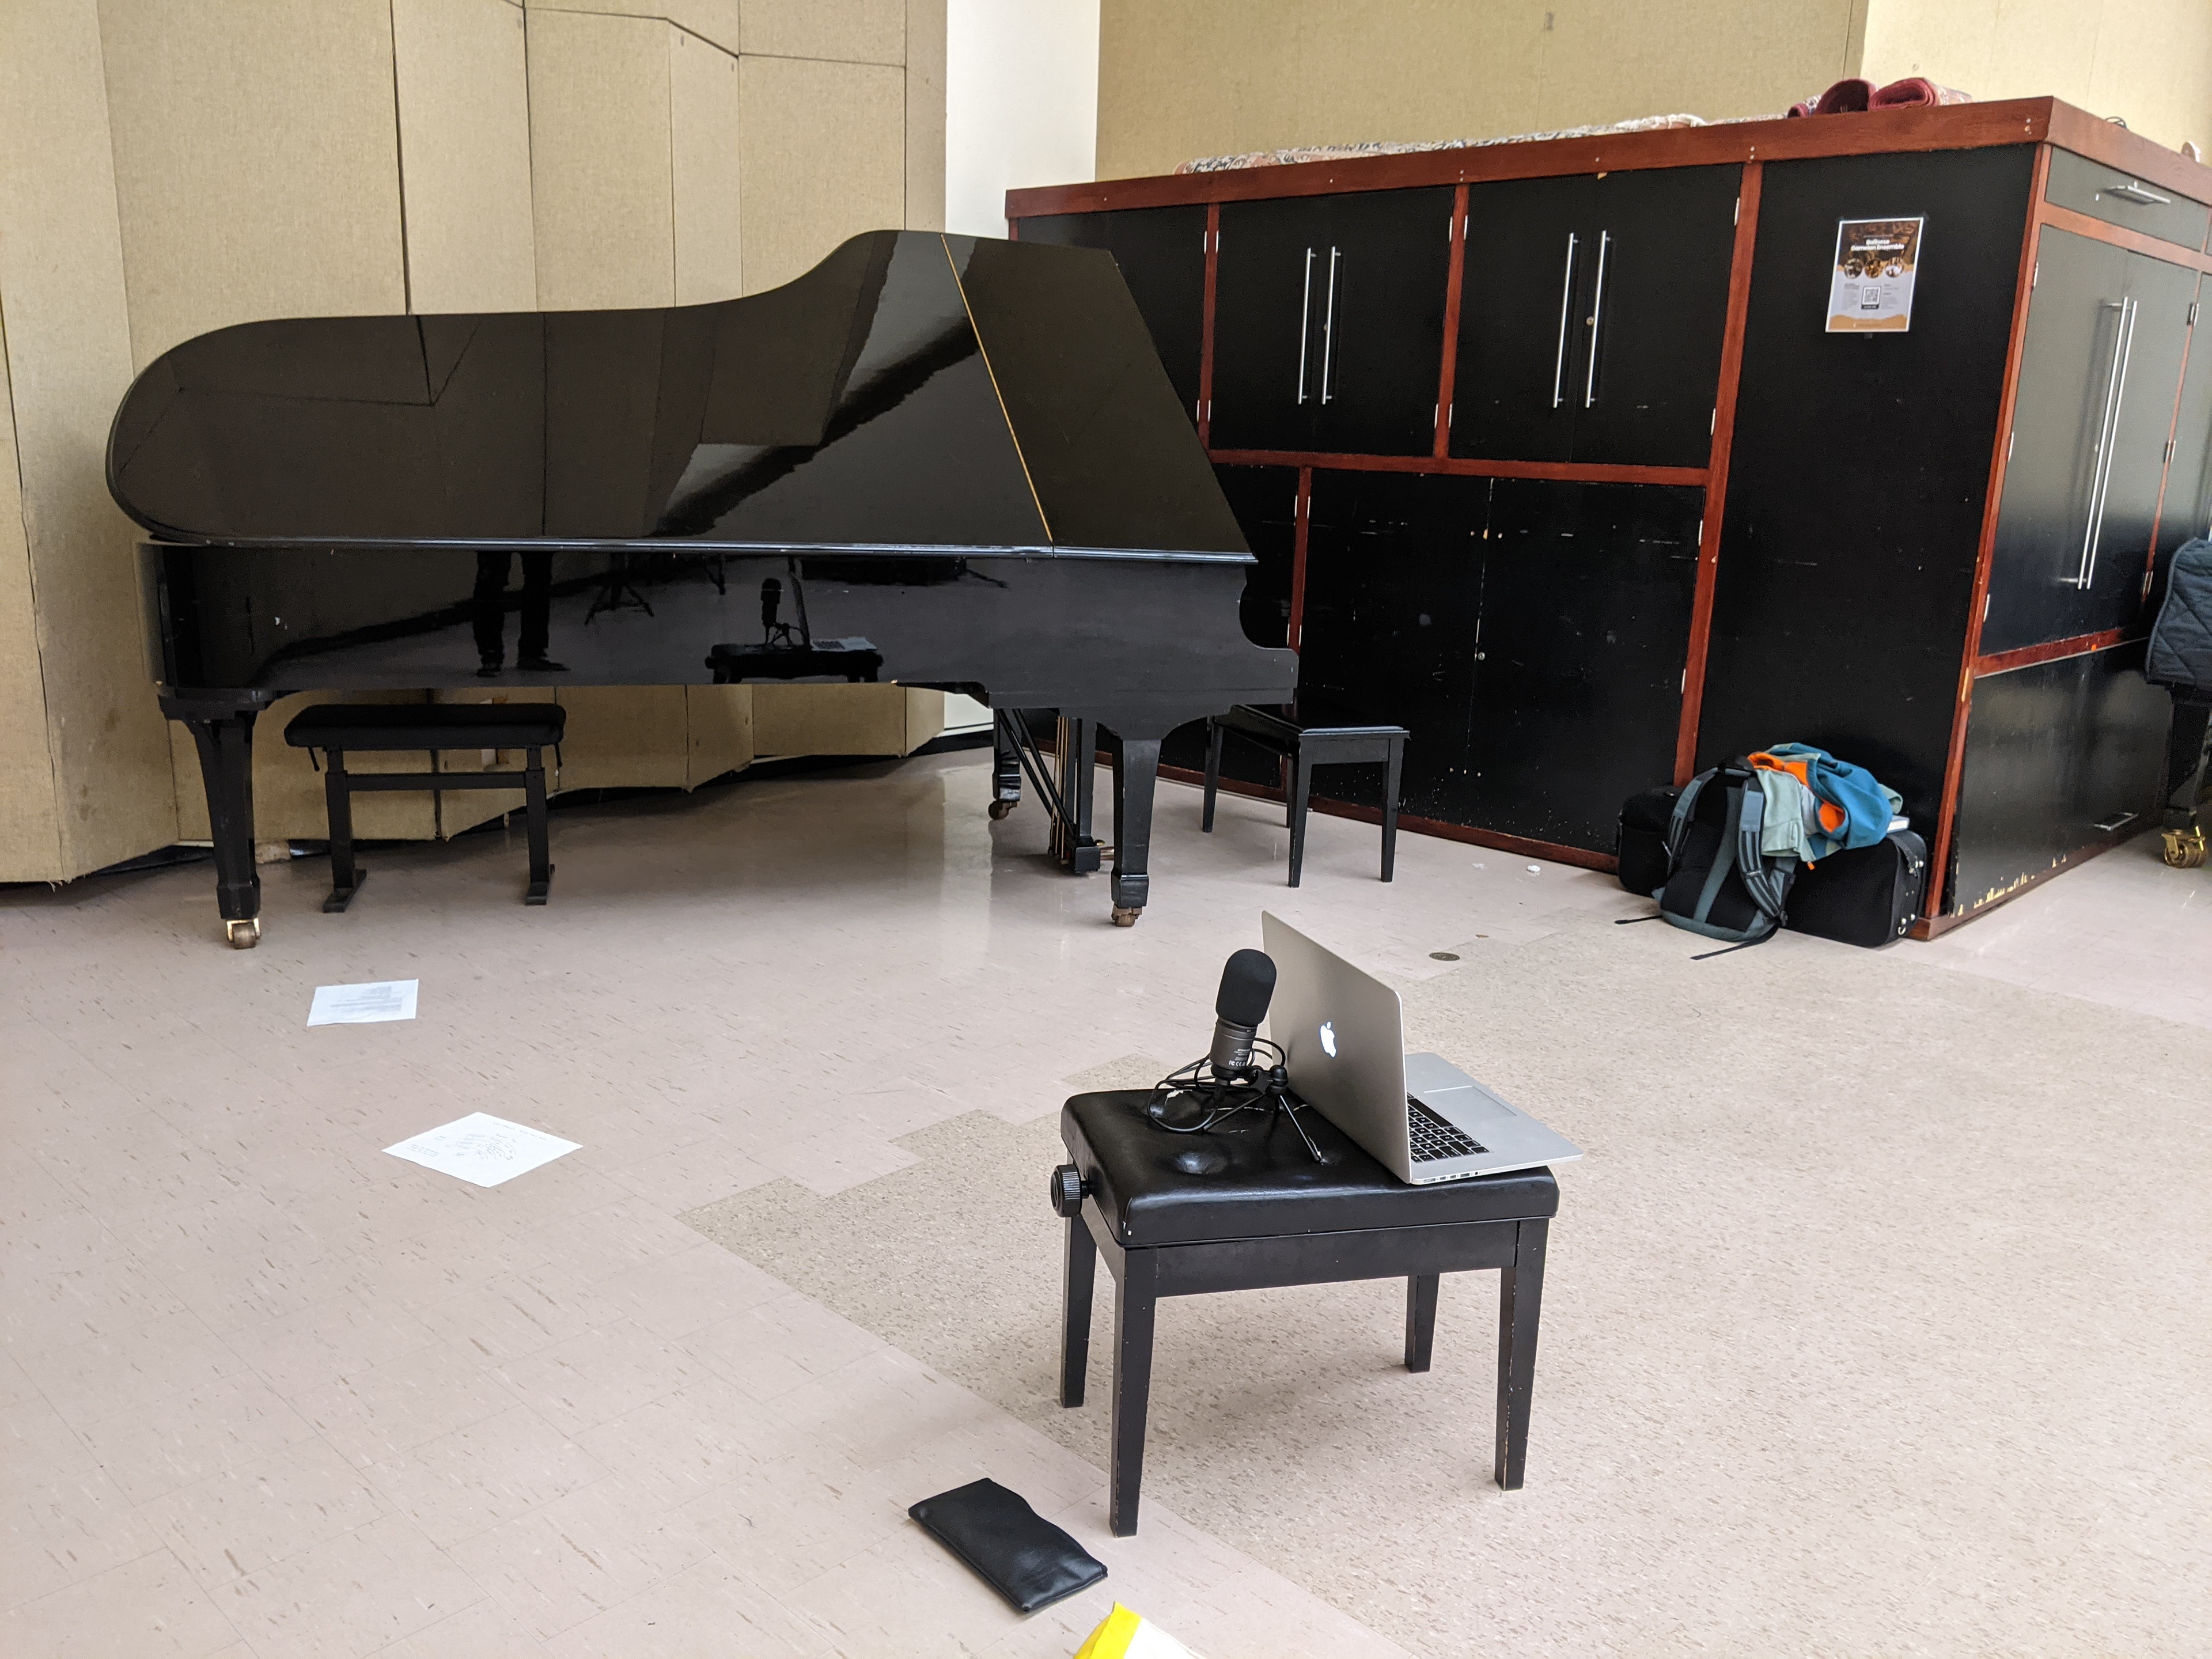
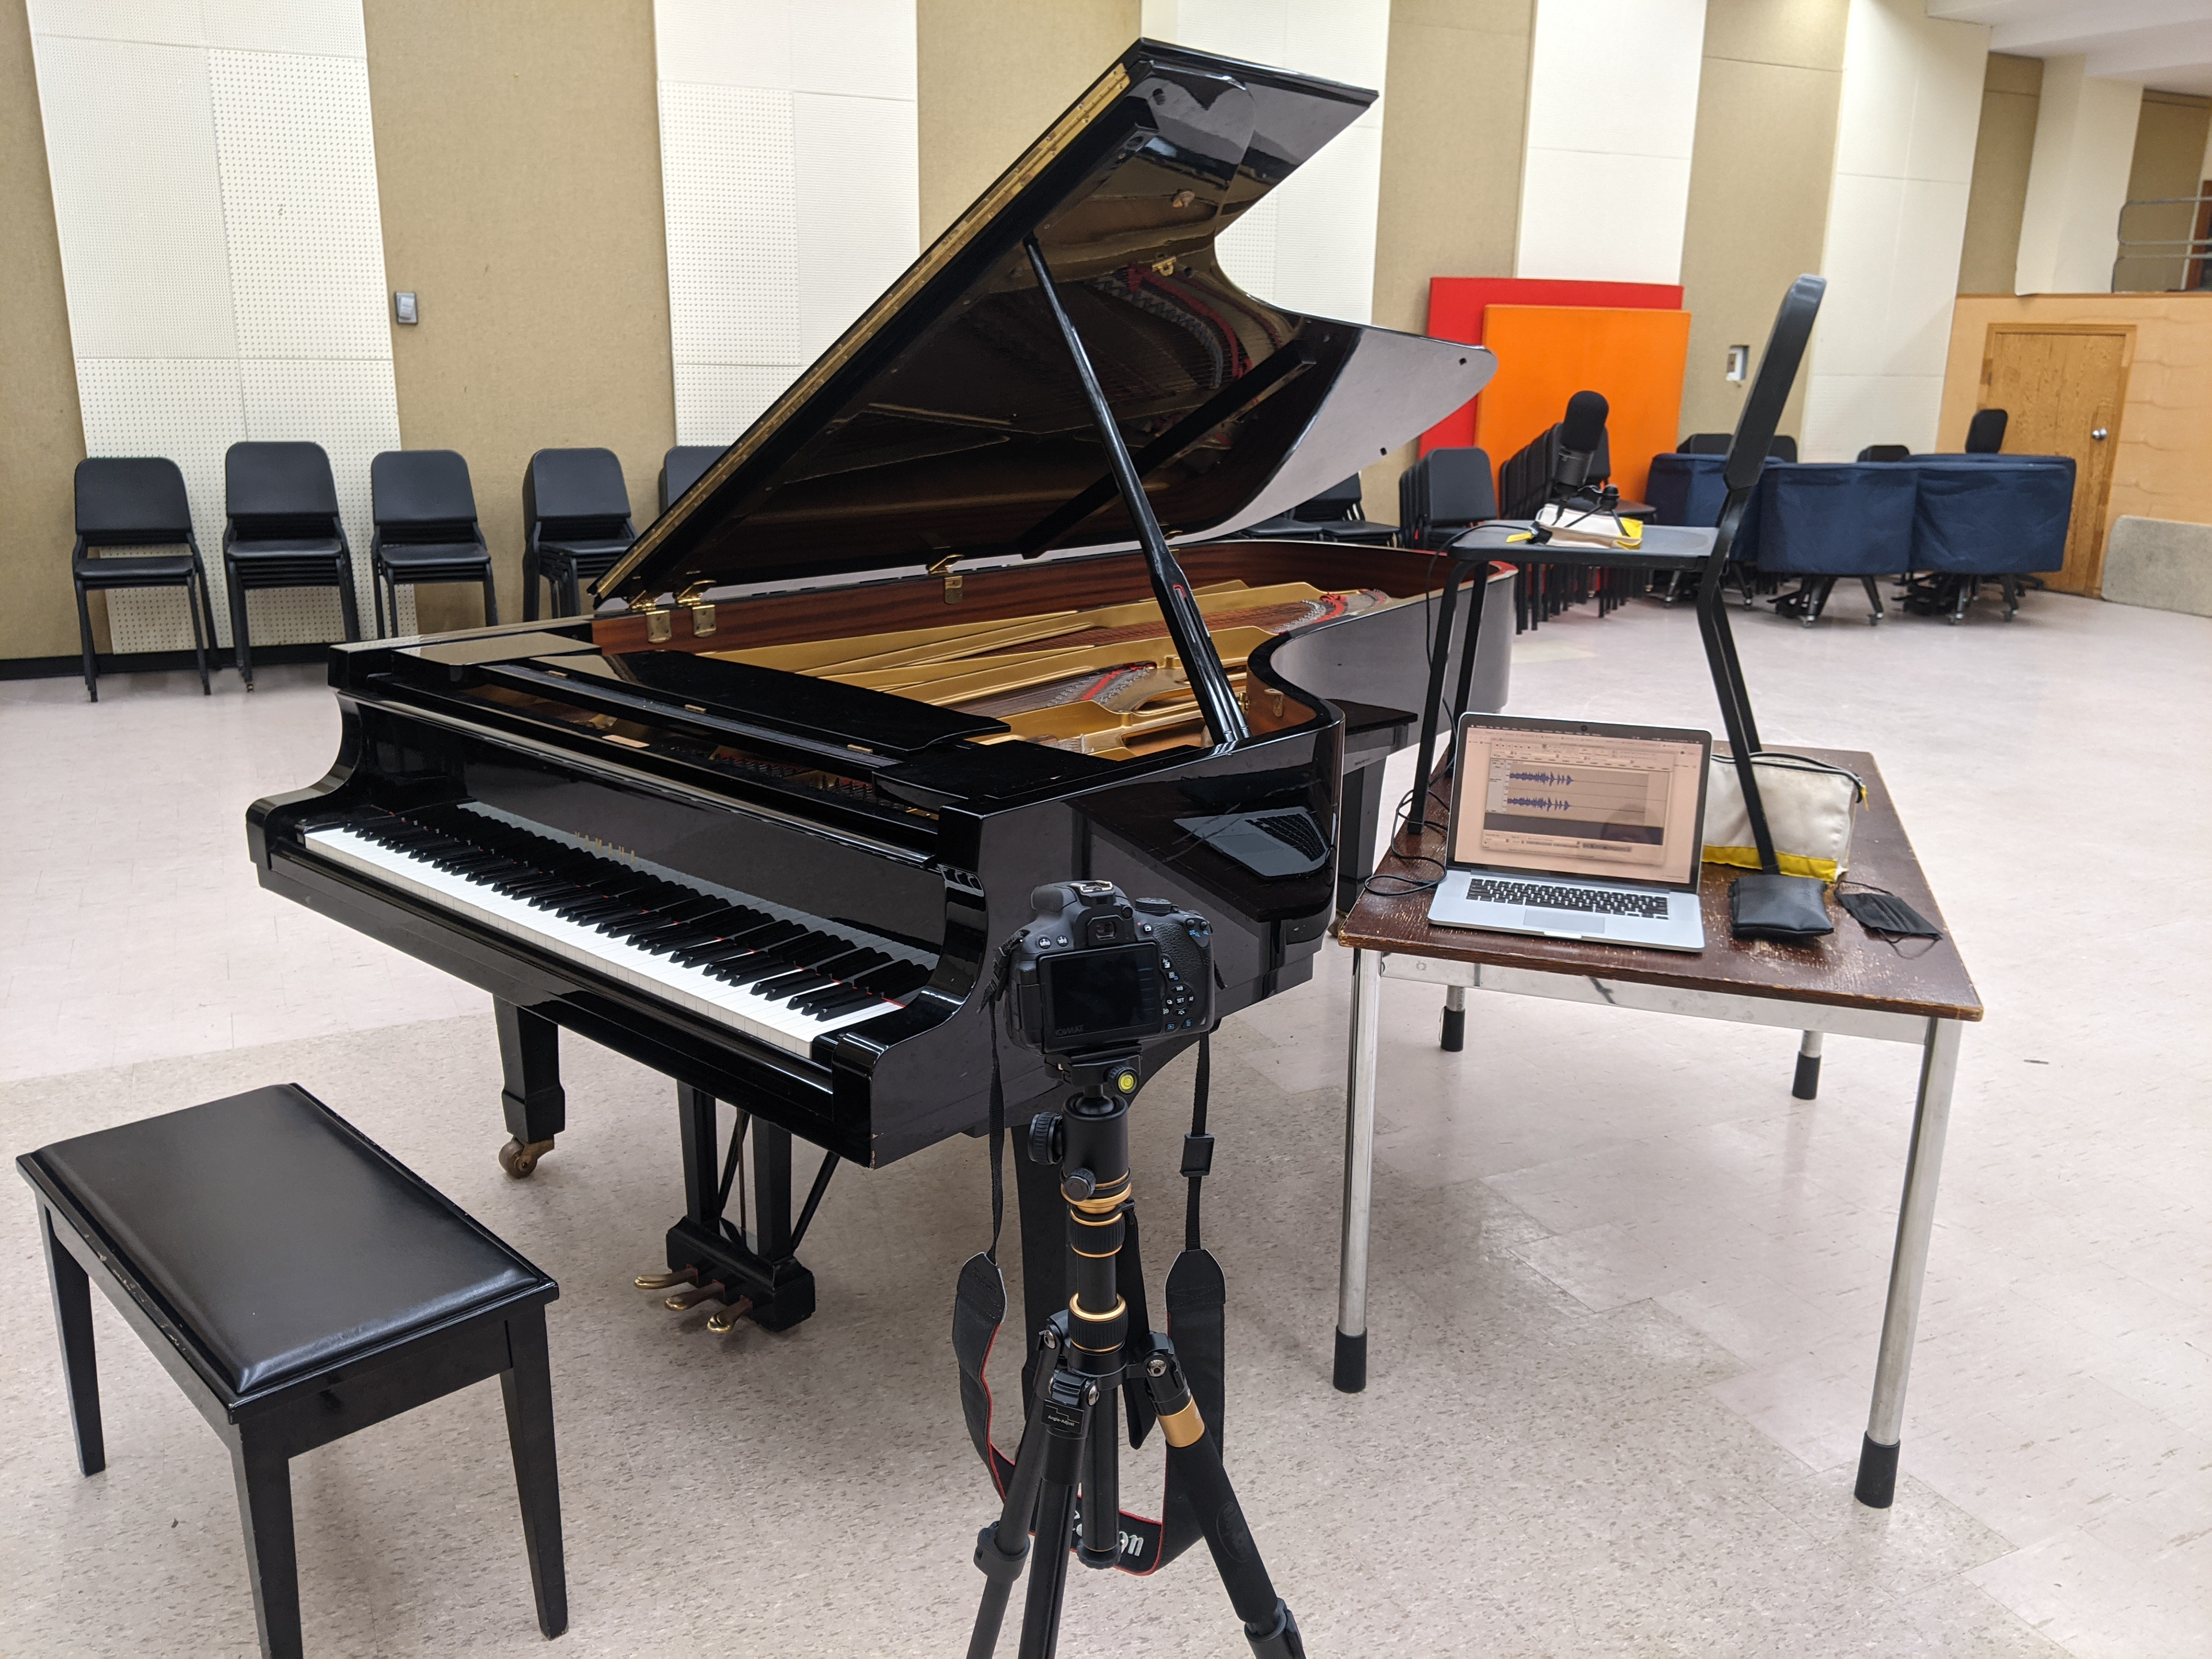
Between November 2022 and July 2023, I experimented with various approaches to recording the piano part. As I only had an upright piano at home, much of the initial experimentation entailed the use of grand pianos at the University of Toronto’s Faculty of Music. Before or after orchestra rehearsals, I would sneak into the room and try various recording setups. Although the grand pianos sounded great, I ultimately resolved to use my own piano because I had more convenient and reliable access to it (especially over the summer holiday), and so the room would be consistent between piano, viola, and cello recordings.
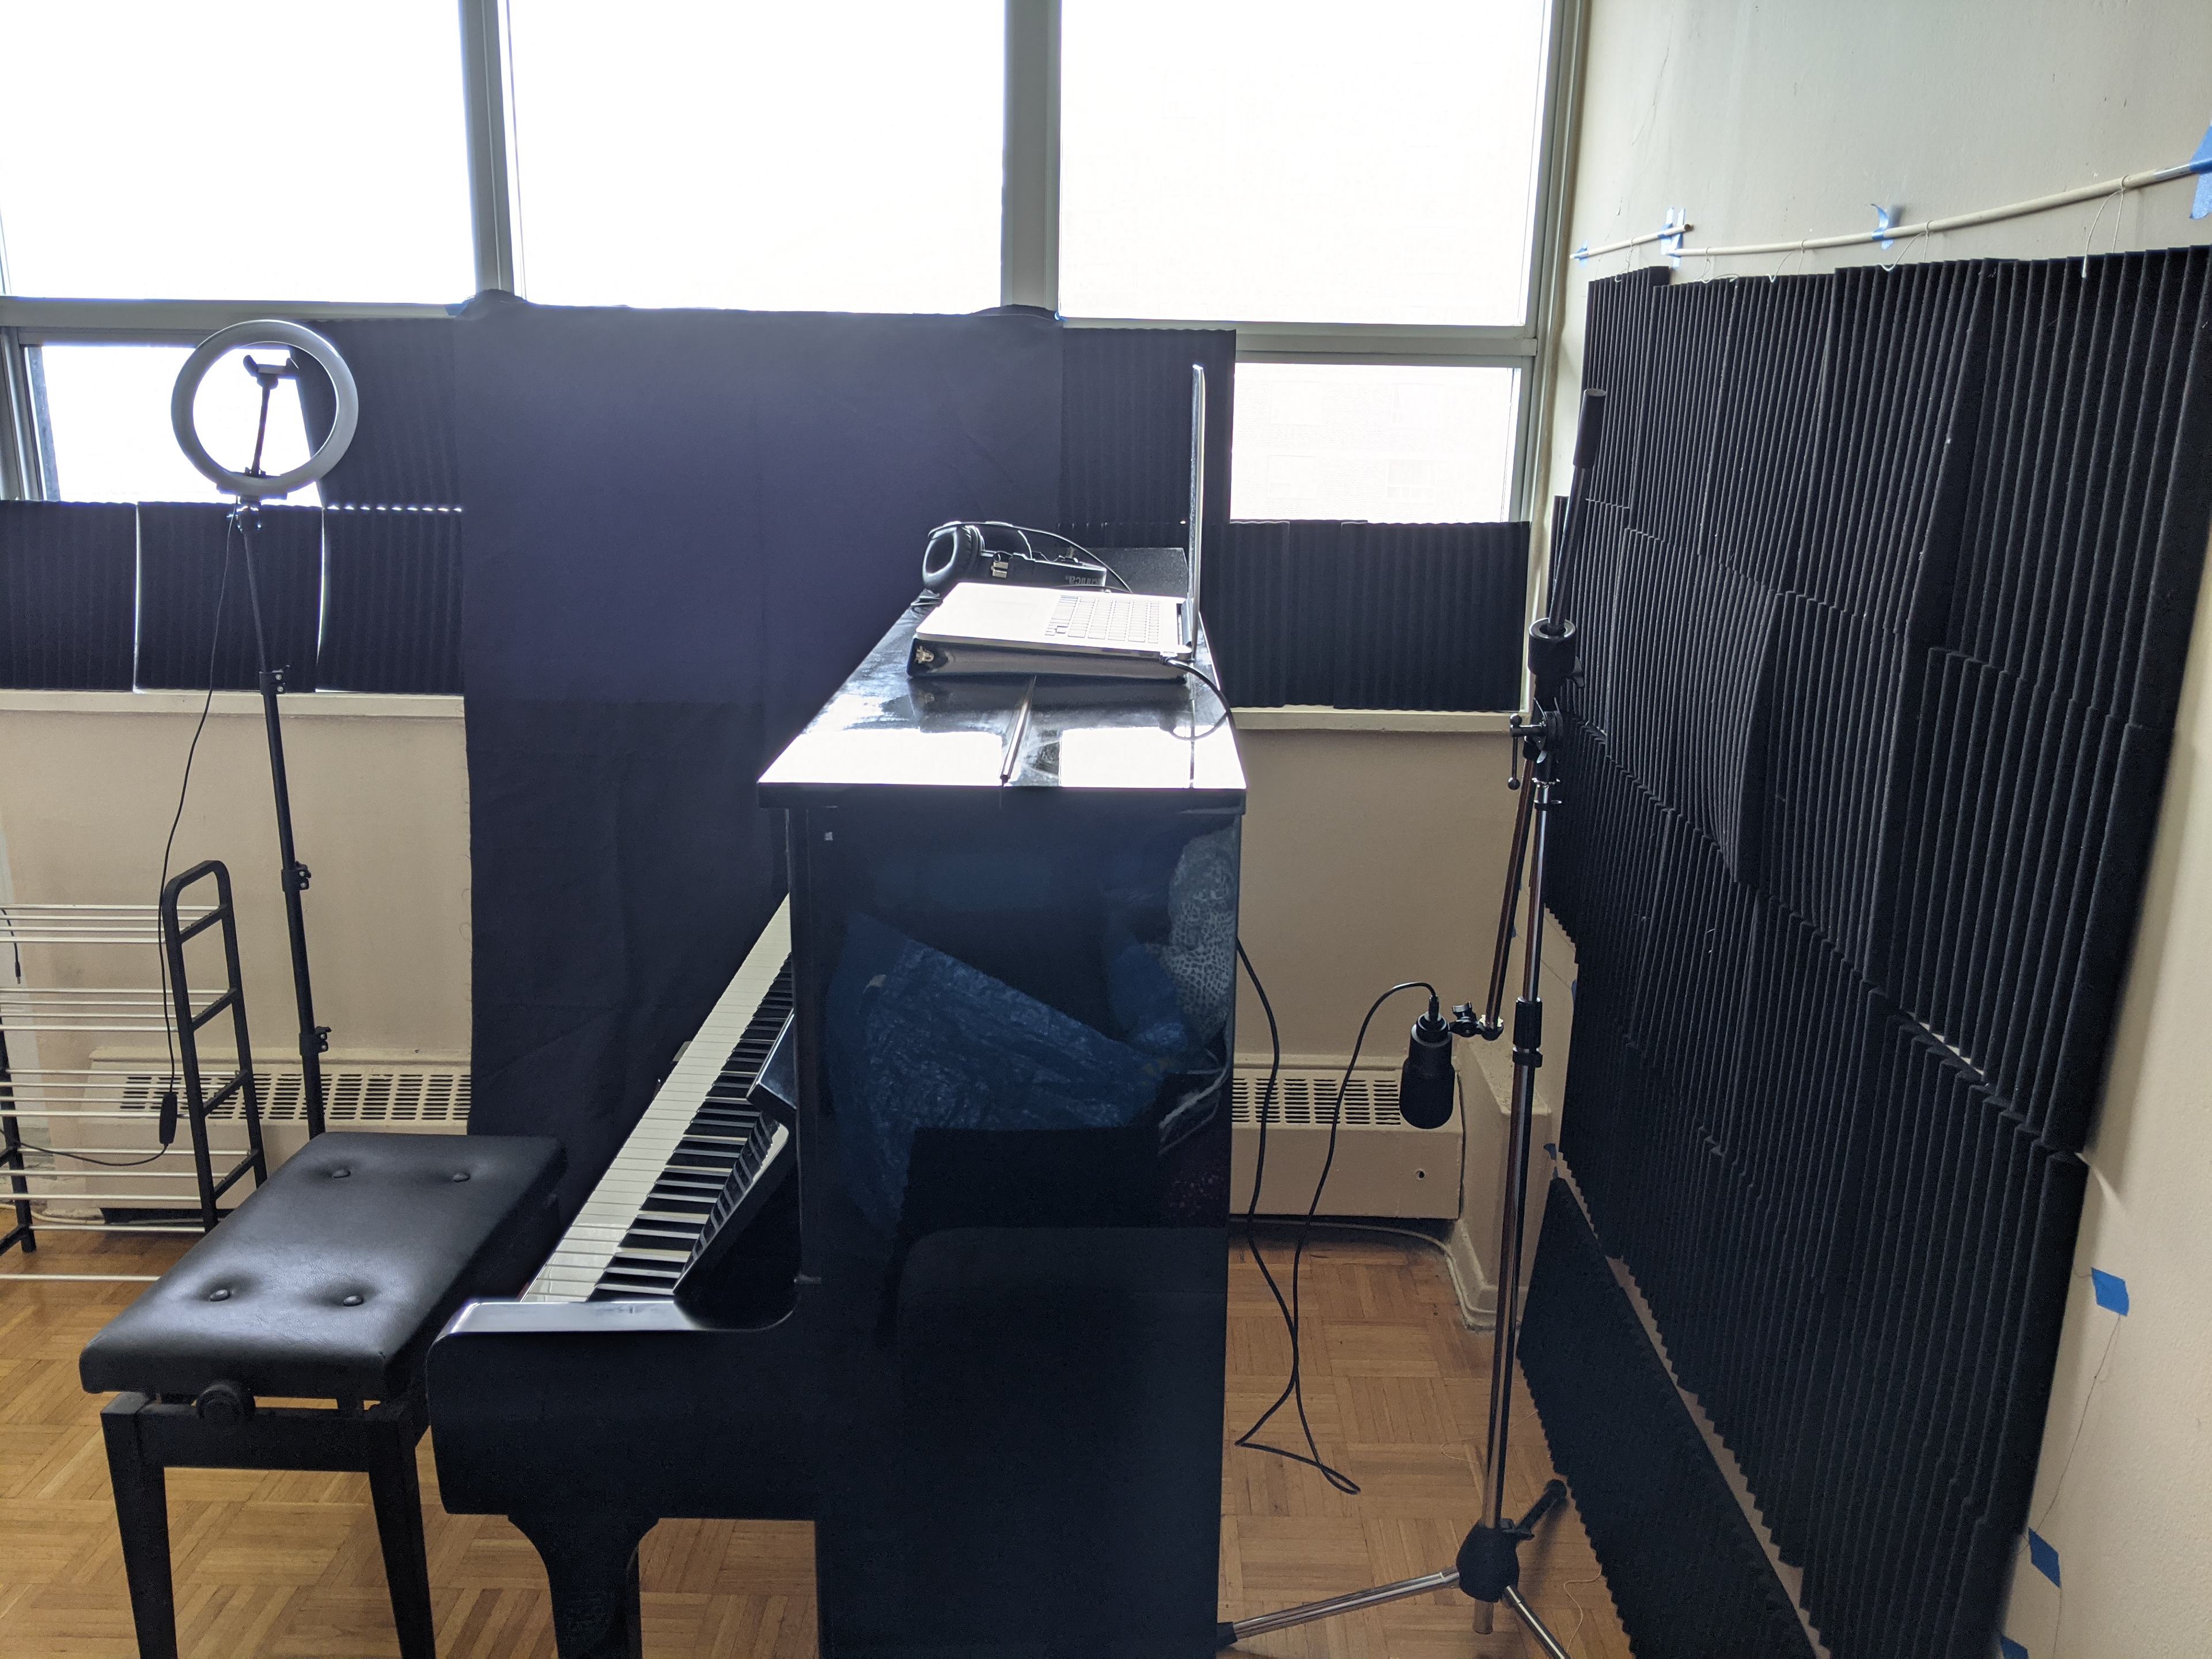
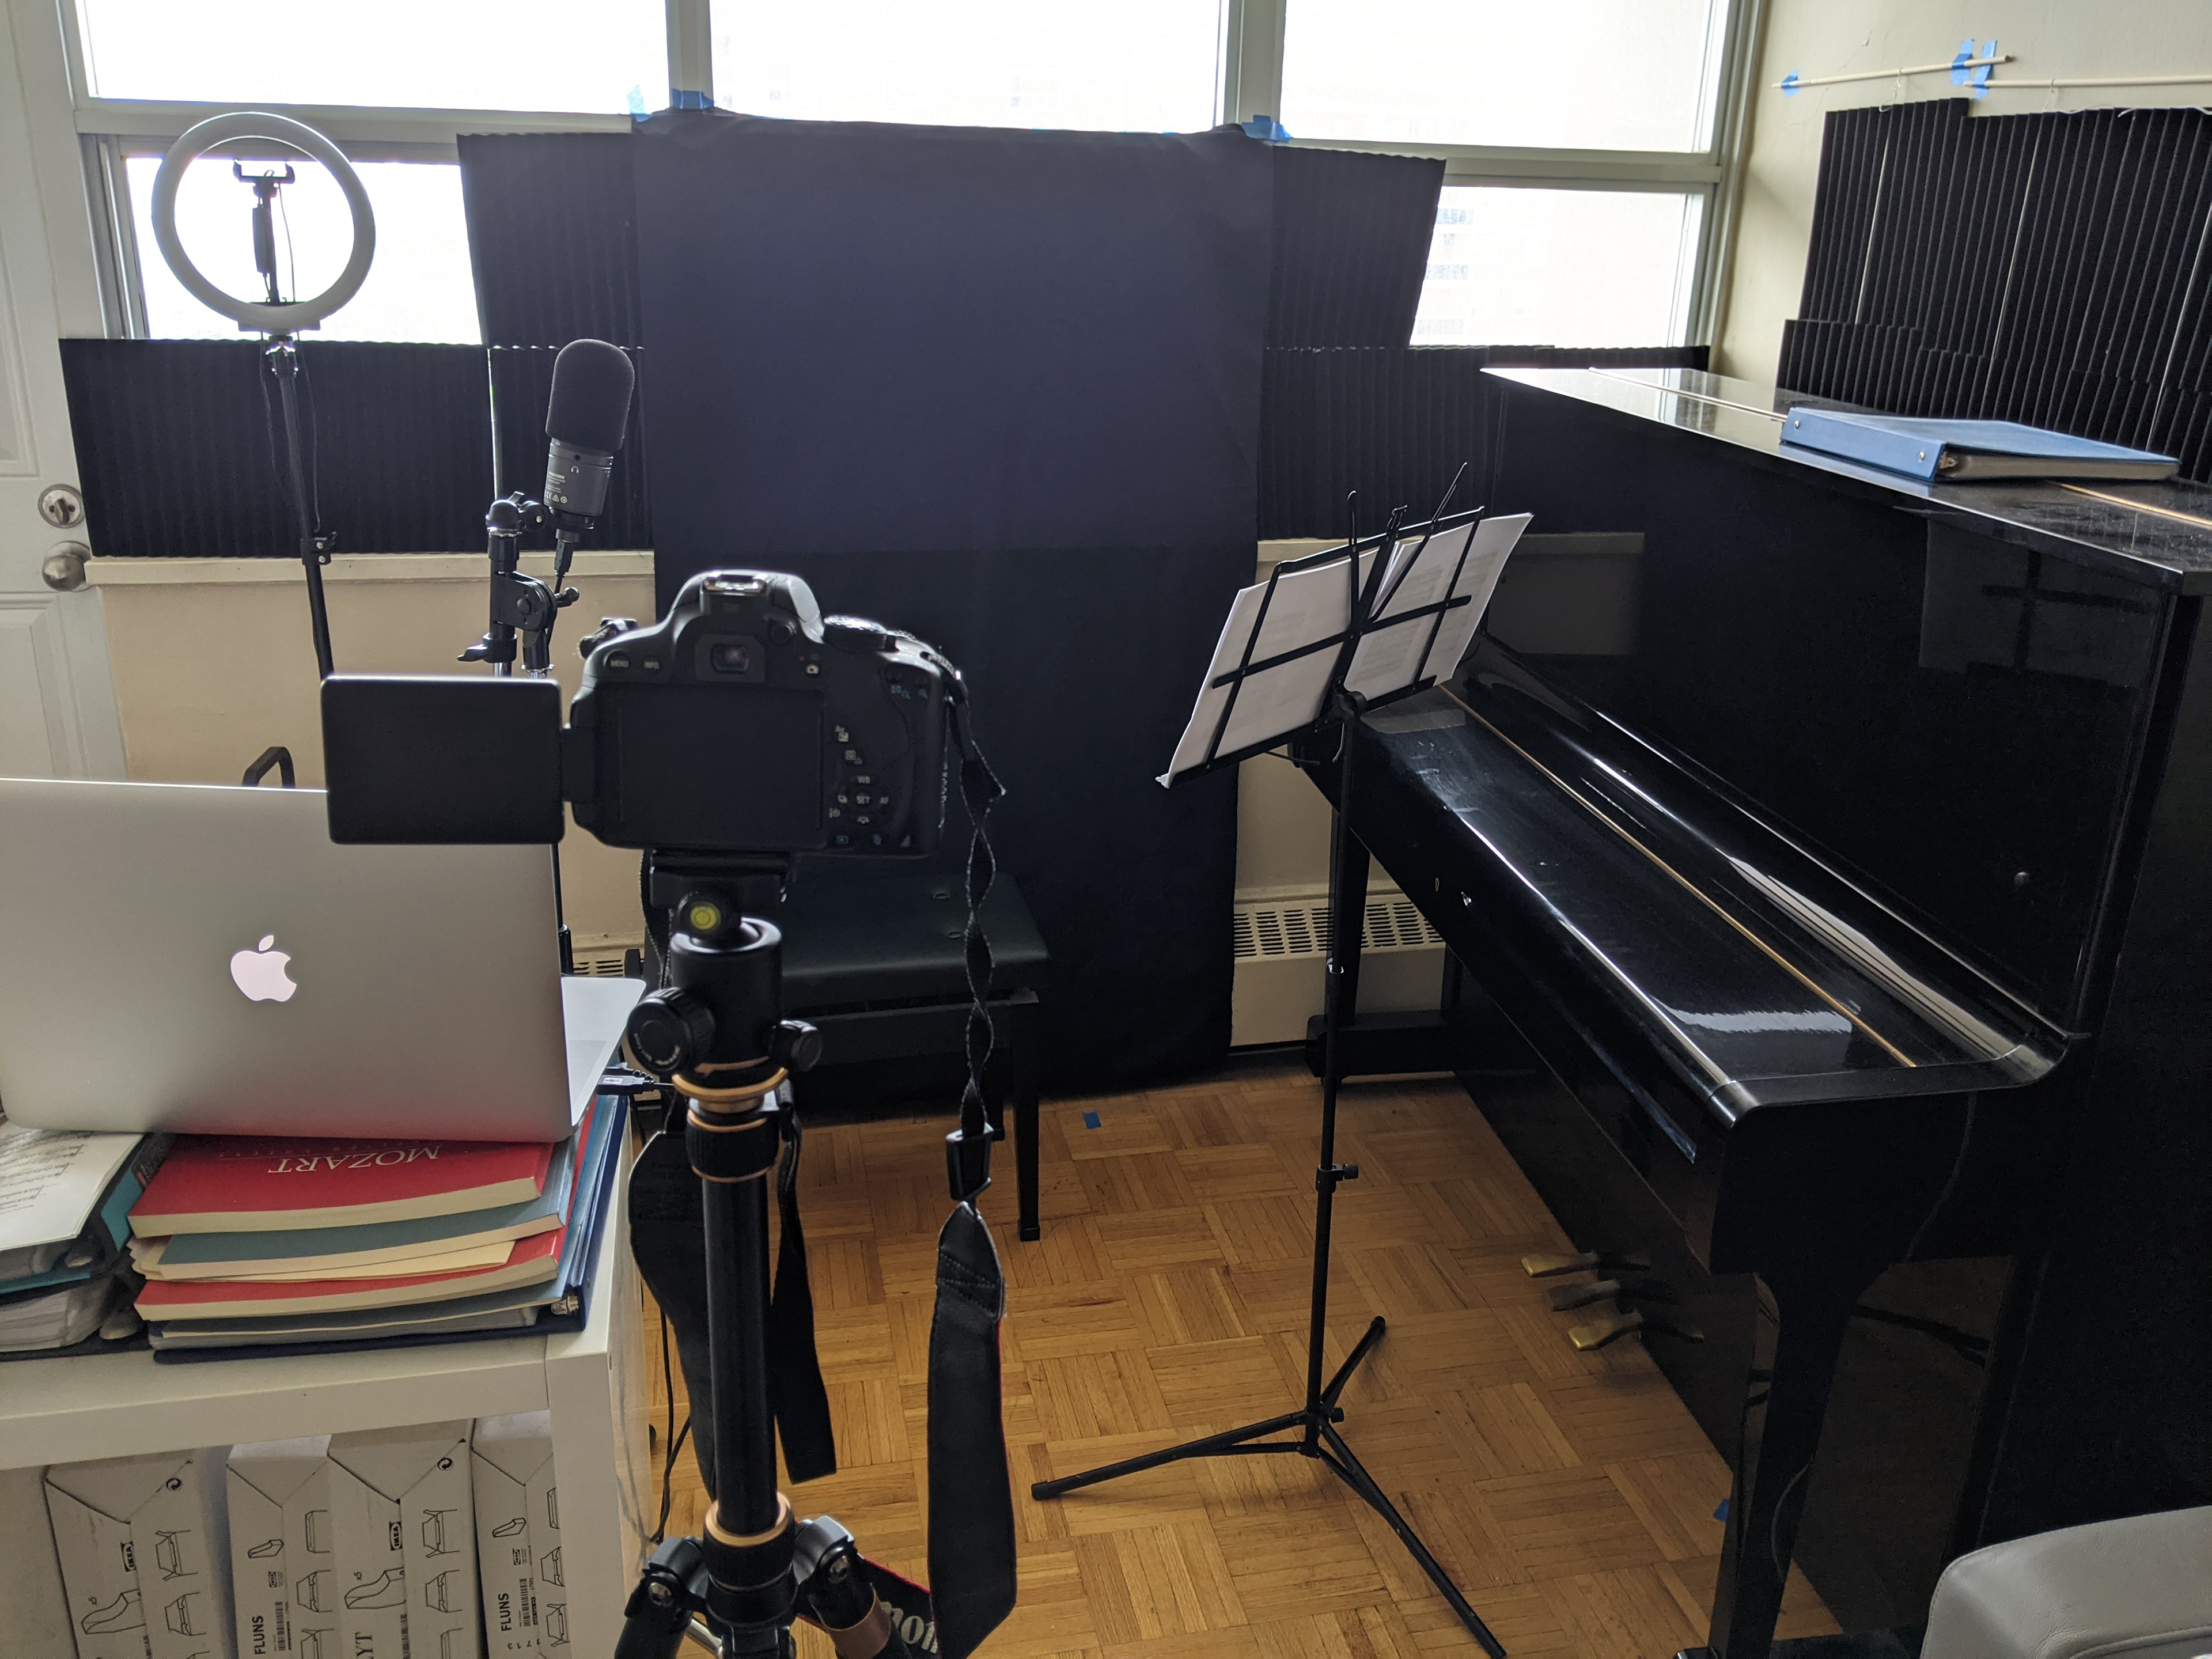
I tested various microphone positions and room configurations. To minimize environmental noise (particularly the creaking of my piano bench and pedal noise), I placed the piano’s microphone on the far side of the soundboard rather than above the instrument. I mounted acoustic foam on the adjacent walls, although testing did not conclusively reveal an improvement from no-foam. The same black fabric that I had used for my DesignTO exhibit table in 2020 covered the far wall, although it was not quite large enough for the wider field of views required for the viola and cello recordings. In hindsight, I should have iterated more on my setup, particularly the microphone placement, as this was likely the biggest single barrier to achieving a better sound quality in the final recording.
I tested the use of artificial light, but found it unnecessary given the abundance of natural light coming through the windows. However, as I did some recordings on cloudier days, or as sessions dragged unto sunset, this created inconsistencies in lighting that I had to fix in post-processing via colour grading—and not to full success.
While recording the viola and cello parts, I put the sheet music on a stand right out of frame, and had the previous iteration of the video playing on my phone so that the audio fed into my hearing aids via Bluetooth. I had to be able to see the video, because some parts of the audio were murky and thus difficult to synchronize with by ear. Some parts remained difficult to synchronize regardless.


Part Four: Mixing and editing the final cut
Throughout the process, I created a few “minimum-viable prototypes,” including throwaway recordings to test the feasibility of recording everything in one take, or to test the layout of the final video so I could iterate on it for the “official” takes.
Editing took place hand in hand with the recording. I would record for a few hours, then review/curate the footage/audio, then stitch it together with the rest of the video. Then I would start the next recording session with retakes of the previous day, before moving onto the next part. In addition to the parts that made it into the final recording, I also recorded gaps in the piano’s part (where the orchestra played alone), so I could align the viola/cello parts to it.
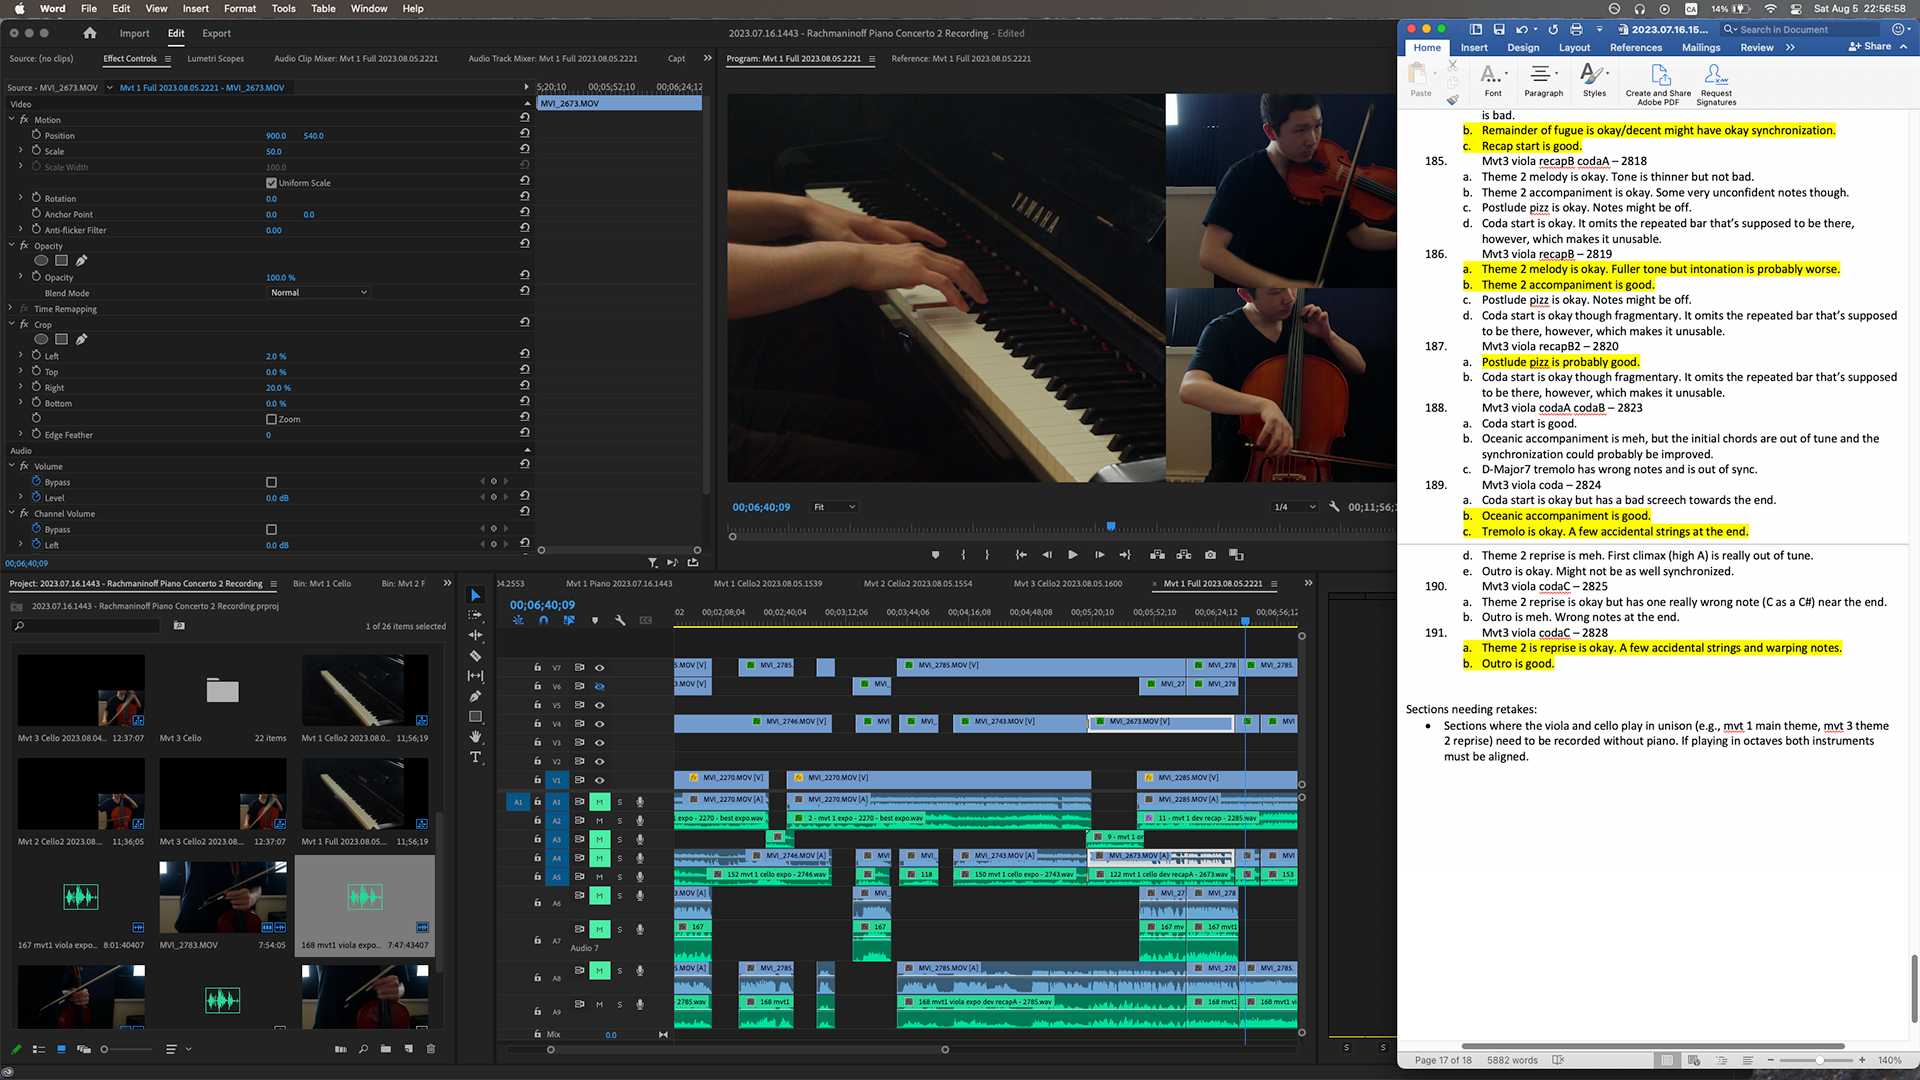
I did an initial curation of the Audacity WAV files for the quality of the playing, then I moved the best clips into the Premiere sequence to listen for synchronization and intonation. Sometimes, I had to go back and forth between multiple clips, or even use clips that I had initially rejected, because the clips that sounded best were poorly synchronized or had clashing intonation.
Once all the clips were stitched together, I spent time mixing the parts in Audition using compressors, equalizers, and reverb. I had to adjust volume levels in many parts to produce a better balance between the instruments—usually by foregrounding melodic lines and backgrounding harmonic filler. Light compression ensured a well-rounded balance of sound, equalizers reduced problematic frequencies while emphasizing the unique characteristics of each instrument, and reverb created a sense of a larger, more resonant space—thus making each instrument sound smoother and better-recorded.
After some video post-processing (mainly for exposure, colour balance, and cropping), I exported a full draft and uploading it to YouTube. I sent this draft to friends for feedback, then incorporated their input into a final export that replaced the original upload.
Part Five: What would I do differently next time?
1. Spend more time practicing the viola and cello parts. I had spent hundreds of hours learning and memorizing the piano part, but I anticipated being able to almost sight-read the viola and cello recordings. The issue was less the difficulty of the parts (I’m an excellent sight-reader), minus a few passages with tricky intonation; the main difficulty was synchronization with the recording. It was much harder than expected to play perfectly in time with a video recording (especially in a concerto with so many tempo changes, played by a pianist who approaches tempo via instinct), in part because it was difficult to hear the recording at times. Unlike orchestral playing, minor hesitations or fumbles on a chamber recording are very noticeable. Likewise, intonation is super important—and it's always been by weakest skill.
2. Don’t start recording the next part until the previous part is near-perfect. As I’m more experienced with the viola than the cello, I thought the viola would be easier to record, but this was not the case because I recorded it last and thus had to align my viola playing to both the piano and cello parts (rather than only the piano)—and the piano and cello were not always perfectly together. Especially when the viola and cello are playing parallel octaves, any deviations in timing creates a really bad effect; thus I had to imitate the cello’s mistakes while recording the viola part, because it sounds better for the strings to be wrong together than for one to be wrong and the other right.
3. Set up a more secluded studio environment. I should have spent more time preparing the room for the recording, such as purchasing larger fabrics to block out the natural light. Other potential improvements: use a quieter piano bench, obtain one or more softboxes for lighting, use a better microphone (or perhaps a pair of microphones), replace my cello bow and strings (which are up to a decade old), and figure out a more rigid and repeatable tripod setup. These would have produced a more professional-looking result and saved mixing and post-processing time.